Welcome, one and all, to my painting and modelling article series "Fresh From the Fryer"! In these articles I will showcase conversions and paintjobs by your's truly, as well as a few items by friends of mine or other such submissions that I feel are worthy (read: cool!). I will also endeavor to explain how I did the conversions, and-when possible-I will include step-by-step instructions. Feel free to use any conversion ideas listed in my articles, but I only ask for one thing in return: show me your work!
This is gonna be a short one, jsut a quick step-by-step on how to get bitchin' gold for your mini's armor and shadows in their robes/capes/whatevers!
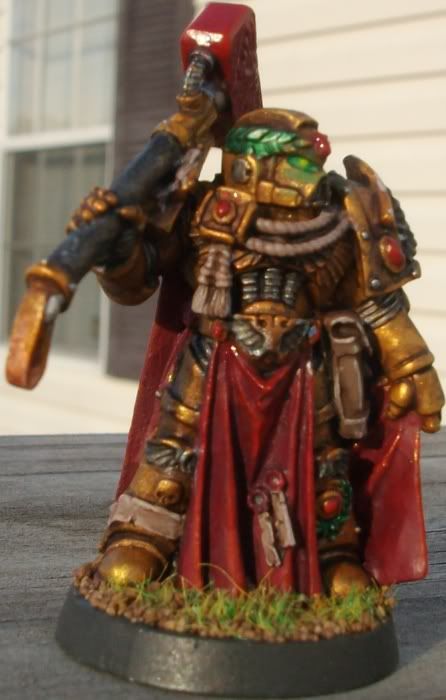
I'm afraid I have no photos of the process, but for gold like the mini pictured, one needs to follow the following steps using four paints:
Step 1: Basecoat black. I know what you're thinking, but this will (well, should, depending onthe consistency of your paints) make step 2 easier-especially on models that aren't going to be solid gold (Like Thousand Sons armor trim, for example; this process looks great on them, fyi).
Step 2: Cover the black areas in Dwarven Bronze/Brazen Brass, whichever paint you have.
Step 3: Watered-down coat or two of Golden Yellow. Doesn't have to be perfect, but you definitely want to get it on the raised areas. I was good ina single watered-down coat so that the brass underneath could still be seen through it.
Step 4: Solid coat of Burnished Gold. The Golden Yellow from the previous step should really make it pop.
That's it! I opted to darken it a tad with a couple of thinned coats of Devlan Mud, which shaded it VERY nicely as you can see. If one wanted obnoxiously bright gold, simply cut out Steps 1 and 2 and use a white basecoat.
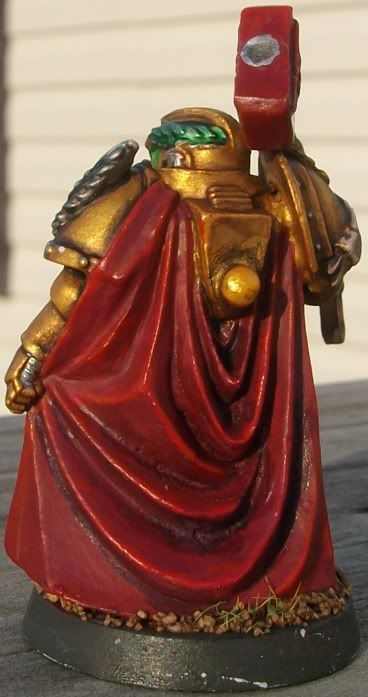
The cape and loincloth I really like in particular; Simply basecoated in Mechrite Red for a solid foundation, edges highlighted in Blood Red. One could stop here, but it just looked too..."meh" to me. I added a coat of Baal Red wash, but even then the deepest recesses seemed kinda washed-out. After seeing someone mention it on Advanced Tau Tactica in a thread where red armor was being discussed, I took out my Asuremen Blue wash and-after thinning it a little-applied it to the deepest recesses, and more lightly on the undersides of the folds. The stark contrast with the red made much more natural shadows as opposed to jsut slathering on Badab Black, in my opinion at least. I will be making more use of this concept in the future for shading models, such as trying purple or red washes for the green armor of my Tau.
That's it for this article, folks! I hope you all were able to learn something today; if I can help just one guy get his army looking better, then I will be a happy man!
Keep up the good work man, I loved the Iron Warriors you did on ATT and look forward to more of your work here. Get yourself up on the BoLS blogroll, FtW and any of the others and you will start to gather followers. Hell, when you get some more of these great conversions up, I will direct traffic here as a Blog of Note! Keep blogging man, your work is too cool to not share!
ReplyDelete